iTech Solutions is now
Service Express
Experience the people-powered difference. Integrating iTech Solutions with Service Express means you have access to an extensive portfolio of data center and managed infrastructure solutions with the same trusted knowledge and expertise you trust.
Now providing support beyond IBM®
iTech Solutions brings 20+ years of IBM Power® and IBM i expertise to Service Express. Integrating iTech with Service Express creates a comprehensive range of solutions to meet evolving infrastructure needs.
What you can expect with Service Express
In addition to the IBM i and IBM Power support you’re familiar with, you’ll have access
to the following services and resources now delivered by Service Express.
Multivendor expertise you can count on


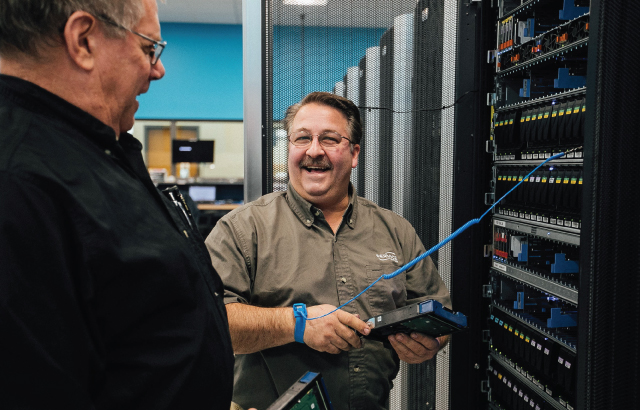
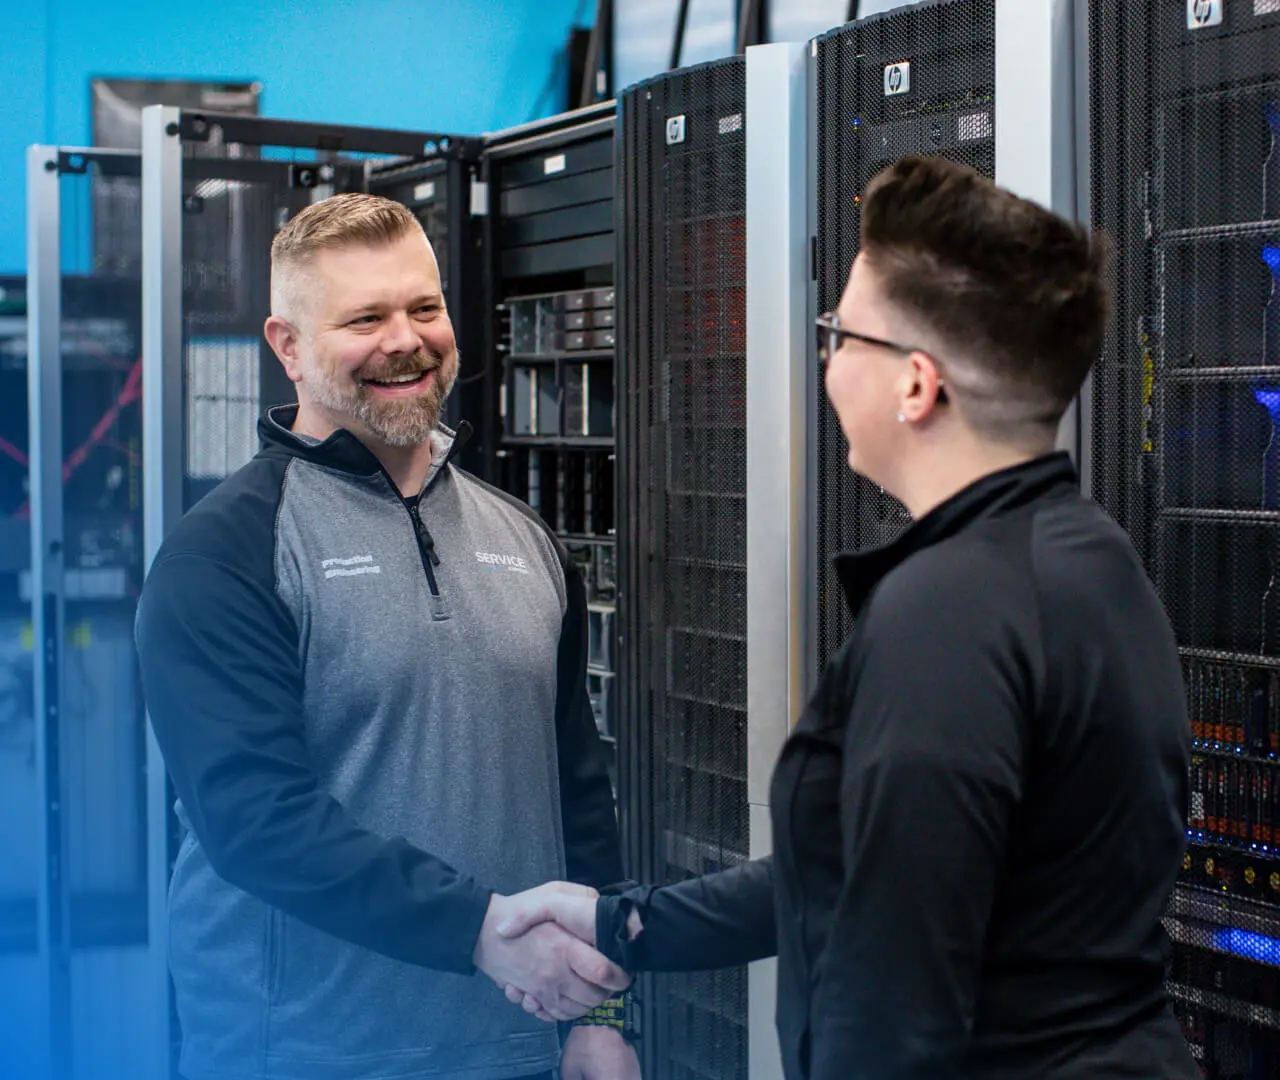
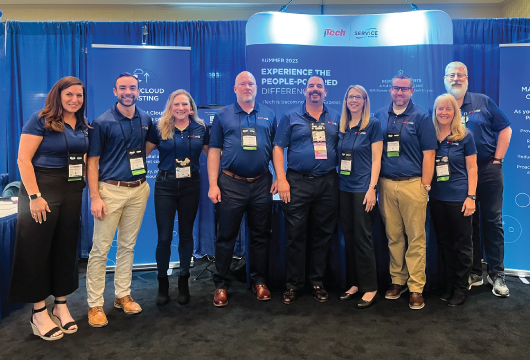
What’s the people-powered difference?
Combining iTech’s commitment to customers with Service Express unites a team of talented experts committed to running toward problems and exceeding customer expectations.
Your questions answered
The integration of iTech Solutions with Service Express means customers have access to a comprehensive portfolio of multivendor data center and managed infrastructure solutions. The service quality and expertise from iTech will remain as the company transitions to Service Express.
Yes! Services previously offered by iTech are being integrated with the Service Express portfolio.
Yes. The popular iAdmin conference will continue to bring value to the IBM i community as iTech integrates with Service Express.
Additional resources
Learn about our day-to-day support for your IBM i, allowing you to tackle more projects and focus on strategic initiatives.
These fact sheets cover IBM Power10 specifications, benefits, and performance comparisons to Power9.

This reference sheet includes the IBM i OS support roadmap to help guide for the future, as well as IBM i OS compatibility with IBM Power servers.